Introduction and Monthly Reminders
So far, September has been smoky, cloudy, and rainy. I had a few opportunities to image the night sky by going to higher elevation and driving four hours to get away from the smoke. Unfortunately, I was unable to take my telescope to look at M31, Pallas, or any other wonders of the night sky. I hope that you have had better luck or will get the chance to look at the night sky during the second half of the month.
Neptune recently reached opposition on the 14th. If you have a telescope, be sure to check out our most distant planet while it appears (slightly) brighter in the night sky! You should also look for the close conjunction between the Moon and Saturn on the 16th and the Moon and Jupiter two nights later, on the 18th. On the 20th, the Moon can be found close to Neptune, which might cause an observer to lose some of the blue color that could otherwise be seen if the Moon was not in this region of the sky. On the 22nd, the Autumn Equinox occurs. This is the time when the nights on the northern hemisphere of Earth begin to get longer and the days will get shorter. This means there's more time for stargazing!! Don't forget that on the 23rd and 30th that Mercury will make a close pass with Spica, a bright star near the western horizon after sunset. If you are able to get away from all sources of light pollution, you should also be able to see the zodiacal light in the eastern sky before sunrise. This light will extend through Cancer to Gemini.
Think About This....💡
I have dabbled in astrophotography between ten and twelve years. At times, it can be a very frustrating hobby, especially when I try to bring the stars into focus. This hobby can also get very expensive and time consuming, but can be very rewarding as well. I have taken a class on astrophotography, but I mostly taught myself by what worked and what did not.
For the most basic set up, you will need a camera, preferably a point-and-shoot type camera as a minimum, and a solid area to place the camera. Basically, the camera needs to be able to keep the shutter open for a long period of time to capture the most stars. The longer the shutter is open, the more light the camera can gather. This is a long exposure photograph. I also recommend a camera that can save images in RAW and JPEG. The RAW files can be edited later in photo editing software. Many individuals consider only things that can be seen in the dark, such as stars, planets, the Moon, nebulae, comets, and galaxies to be astrophotography targets, I also consider the Sun and daytime Moon as viable targets. After all, the Sun is a star too!
For my set up, I use a DSLR camera, usually with a wide angle lens attached, and an inexpensive tripod. I also use a remote shutter release so that I don't shake the camera by pressing the button on the camera. That's all there is to it!
Typically, on a planned outing for astrophotography, I like to get to the site while there is still some daylight so it is easier to set up my gear. I will also make sure that my lens is focused at infinity since the Moon, planets, and stars are extremely far away. I sometimes struggle with focusing, so once I am able to focus at infinity, I lock the focus ring by using tape, or place a mark on the body of the lens with a white pencil so I can find focus more quickly. For me, the stars are small so it's hard to find focus and the Moon is too large and bright to accurately focus on. I usually try to find a distant stationary light and try to focus on that, and then make adjustments as needed.
After set up, I double check two things. First, I make sure to remove the lens cap! I can't (or won't!) say how many times I've accidentally left the lens cap on. It's quite frustrating to have your gear set up, aimed at the ISS, and take a 30-second exposure only to find that the lens cap is on. Second, astrophotography is typically done in the dark. Make sure the flash is turned off! I have seen and taken some images where I want to light up the foreground. For this, I use a flashlight or laser pointer for part of the exposure instead of the whole duration so the foreground is not oversaturated with light.
There are many settings that can be changed on my DLSR camera, but the two that get changed the most are the exposure time and the ISO. The exposure time depends on the lens I am using and what type of image I am trying to get. Typically, I use my wide angle lens so I am able to take a longer exposure, say around 30 seconds, without getting too much trailing of the stars. If I want a lot of star trails, or star spin, I leave the shutter open longer, sometimes for minutes at a time. The narrower the lens, the shorter exposure time needs to be to prevent star trails. For example, my widest angle lens is a 10.5mm so I can easily take a 30 second exposure without star trails. This lens is good for taking pictures of large areas of the night sky and landscape. For my 50mm lens, I can only take a 6 second exposure before I start to notice star trails. To find out how long of an exposure, use the 500 rule. The 500 rule is dividing 500 be the focal length of your lens. So if I'm using my 50mm, I could do a 10 second exposure. This is a rough estimate and I've had better results when shooting for just 6 seconds, as mentioned above. Different camera and lens manufacturers will yield different results. Trial and error are how I found what worked best for me, so your results may be different. Don't be afraid to experiment!
The ISO is a setting for the camera to pick up fainter objects. On my particular camera, this setting ranges from 100 to 25600. I usually shoot in the range of 800 to 3200. For shorter exposures, I use the higher setting and for longer exposures, I use the lower setting of 800. I have noticed that the higher this number is, the more noise my camera detects. I like to keep the ISO high enough to pull out the faint stars, but low enough to prevent a lot of background noise. It's a delicate balance that I constantly have to play around with to find what works for the conditions throughout the night.
Typically, I will take around 100 images during an outing, using different settings and lenses. On occasion, I've taken around 300 images in one night. If I can be honest, most of the pictures are garbage or not really what I was trying to capture. Sometimes I get lucky and capture a meteor, but those are rare occurrences. I will still save all of the images and occasionally look at old pictures and find something I missed. Which brings me to my next point. If you want to save your images that's great! But be sure to create a back up!!! In fact, have two backups! Sometime in late 2020, I backed up my years of astrophotography images onto an external hard drive. The next time I went to use the drive, it failed. I lost thousands of images, some of them were exceptional shots of lightning, meteors, and even some taken in Hawaii with the red glow of lava with the stars above, and from the Keck Observatory. It was a hard learned lesson, but now I have two backups. You can never be too careful!
Many individuals will also hook their camera up to a telescope. This is accomplished by essentially using the telescope as the camera lens. For this to work, a mount that tracks the night sky is needed for the best images. One may also mount the camera directly to the telescope tube in a piggyback fashion. This allows the telescope to still be used for visual astronomy, while the camera takes pictures of the night sky. With a mount that tracks the night sky, much longer exposures are possible which will provide better images. I have not had the opportunity to try any of these methods yet, but hope to in the near future.
After a long and fun night under the stars, I will review my images and find the ones I like the best and plan to share with others. I then use photo editing software to slightly alter my images to bring out the stars, milky way, meteors, or even the foreground to my liking. This can sometimes take hours to do, even for the experienced individual. As this is a relatively new experience for me, I still struggle with the settings, but recommend that you try it yourself to see what works for you. There are many free photo editors that can be downloaded and used.
Finally, technology has advanced so much that a cell phone camera is able to take incredible photos of the night sky, a few of which I have taken myself and shared with my readers. For this process, I use a small tripod that has opposable legs. With this tripod, I am able to wrap it around a tree branch, a car mirror, or anything else to help stabilize the camera and prevent shaking. To accomplish astrophotography with my phone, I securely mount my phone and tripod, and find an area where it will not be bothered for about 5 minutes. I activate my camera and set it to astrophotography mode, and tap the screen to take a picture. Typically, the phone takes about four and half minutes to take one picture, so I will use my DSLR setup, or look through my telescope while I wait. The nice thing about taking images with my phone, is that the camera software will process and edit the image so that the stars are bright and focused.
For even more information on astrophotography, I highly recommend the book Photography-Night Sky: A Field Guide for Shooting After Dark by Jennifer Wu and James Martin.
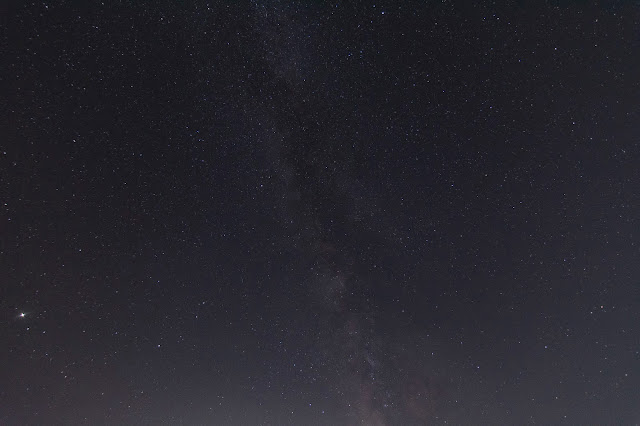
The following images were taken near St. George, Utah.
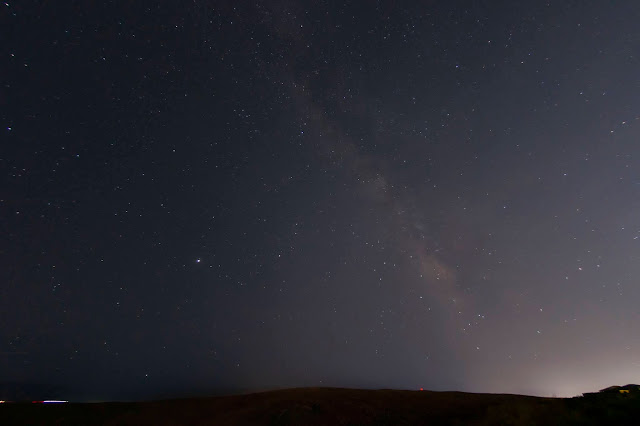 |
| Milky Way, Jupiter, and Saturn taken with 10.5mm lens. |
 |
| Milky Way, Jupiter, and Saturn taken with 10.5mm lens. |
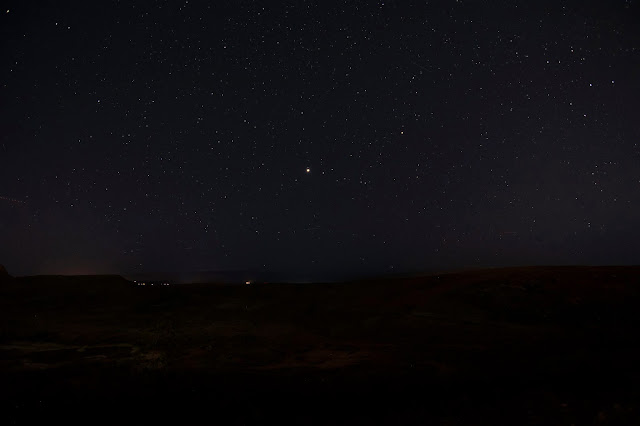 |
| Jupiter and Saturn with 11mm lens. |
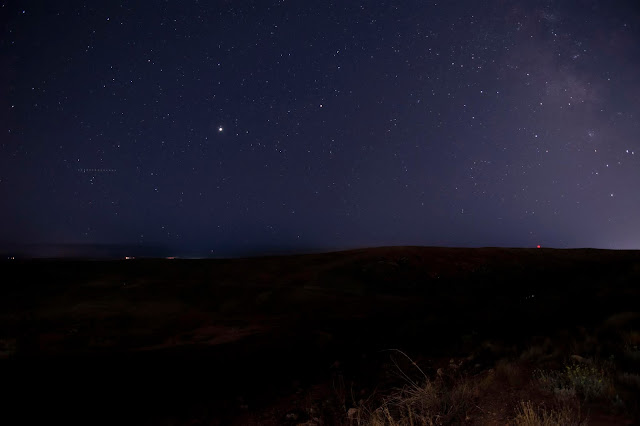 |
| Jupiter, Saturn, and Milky Way with 11mm lens. |
 |
| Milky Way with 11mm lens. |
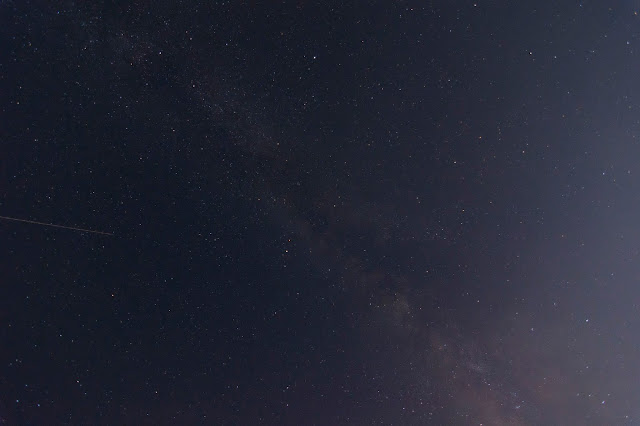 |
Milky Way with 11mm lens.
|
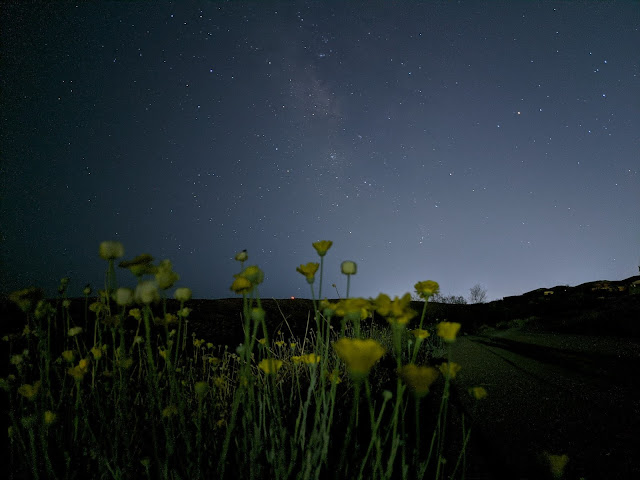 |
| Milky Way and flowers from phone. |
 |
| Milky Way and flowers from phone. |
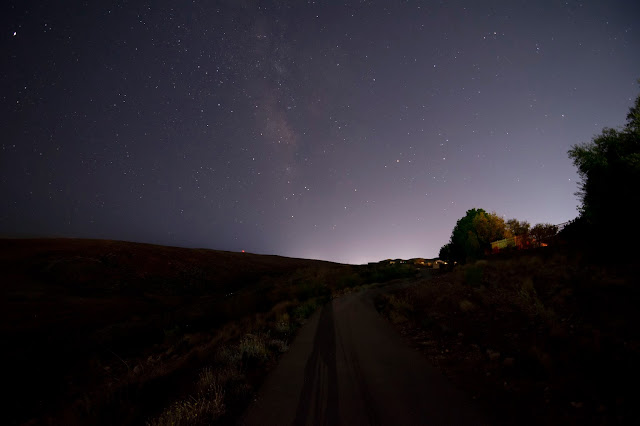
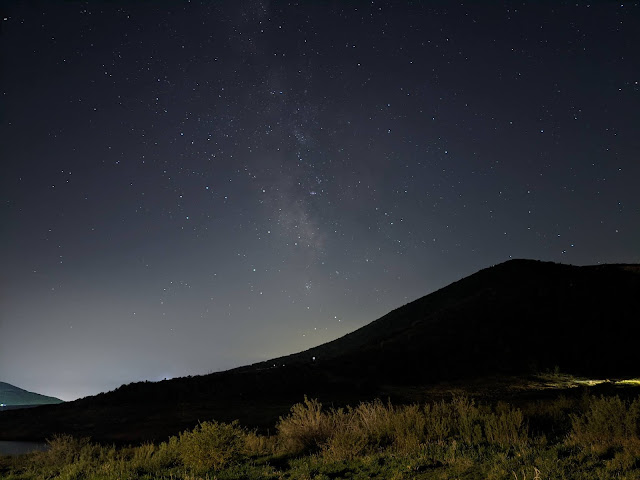
The following images were taken from Jordanelle State Park in Utah over Labor Day.
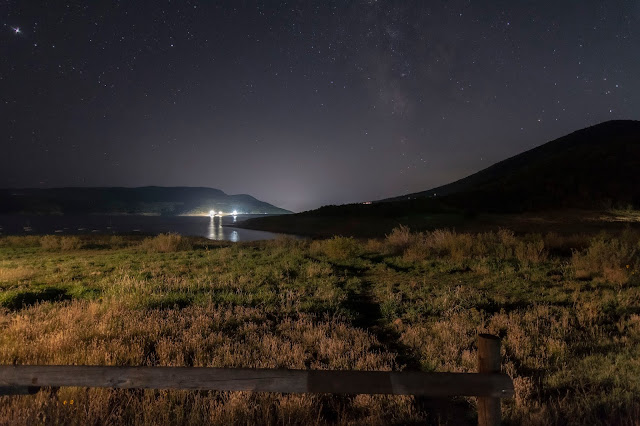 |
| Milky Way, field, reservoir, and lights taken with 11mm lens. |
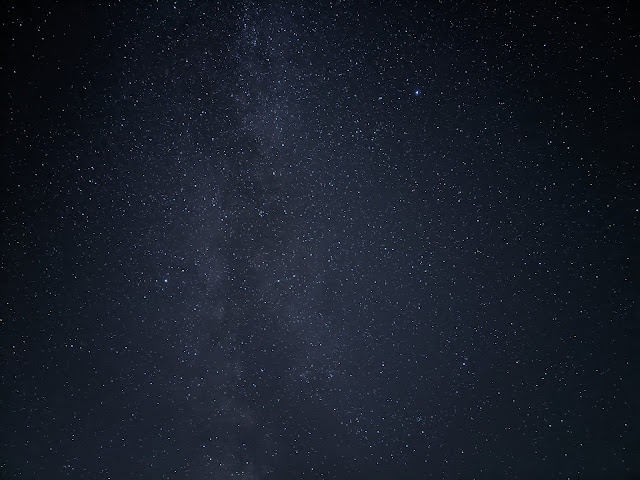
 |
| Milky Way band taken with 11mm lens. |
 |
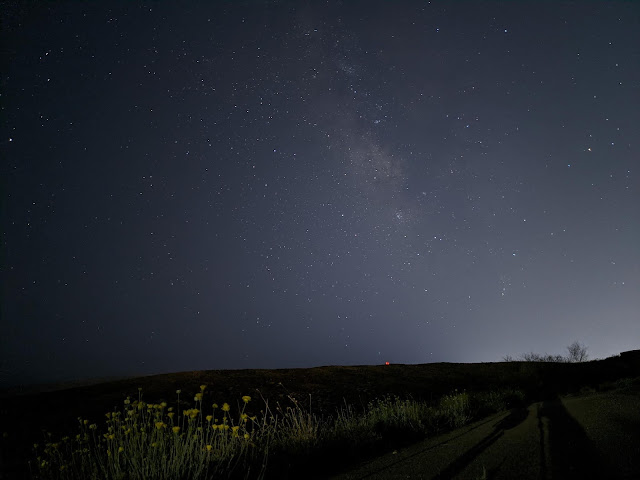
| Milky Way band taken with phone. |
 |
| Milky Way band taken with phone. |
 |
| Another Milky Way band taken with phone. |
Remember to follow me on Instagram @CosmicLure01 to receive notifications for new posts. You may also follow me on Twitter @CosmicLure.
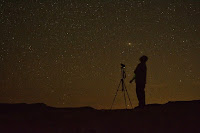 |
| Now get outside and look up! |


